WALK-IN SHOWER IDEAS
A walk-in shower looks simple because the hard decisions are hidden: how far the water travels, which way the floor falls, and what the glass has to stop. The ideas below work through those decisions in the order a renovation settles them, from choosing a screen to building a step-free entry, for bathrooms and ensuites in Murrumbeena and nearby suburbs.

01–02 Fixed panel or wet room
03 Drains and floor falls
04–05 Niches, benches and fittings
06–07 Tiles, splash zones and level entry
START WITH THE GLASS
The screen decides how open the shower feels and how much of the room gets wet.
01 · A single fixed panel
One frameless panel fixed to the wall and floor, with an open end instead of a door. There are no hinges to adjust or tracks to clean, and the room reads as one space. The panel has to be long enough to catch spray from where the shower head actually points, so plan the head position and the glass together, not separately.
02 · A screenless wet room
Leave out the glass and the whole bathroom becomes the wet area. This works best in rooms where the shower can sit at the far end, away from the door, the vanity and the toilet roll. It also means the waterproofing and floor falls reach well beyond a normal shower recess. Settle that at the design stage, not on site.
To see how the screen, layout and drainage are planned as one job, go to Walk-In Showers.
LET THE DRAIN SET THE FLOOR
Without a hob, the floor does the job a step used to do. Where you put the drain decides how that floor is shaped.
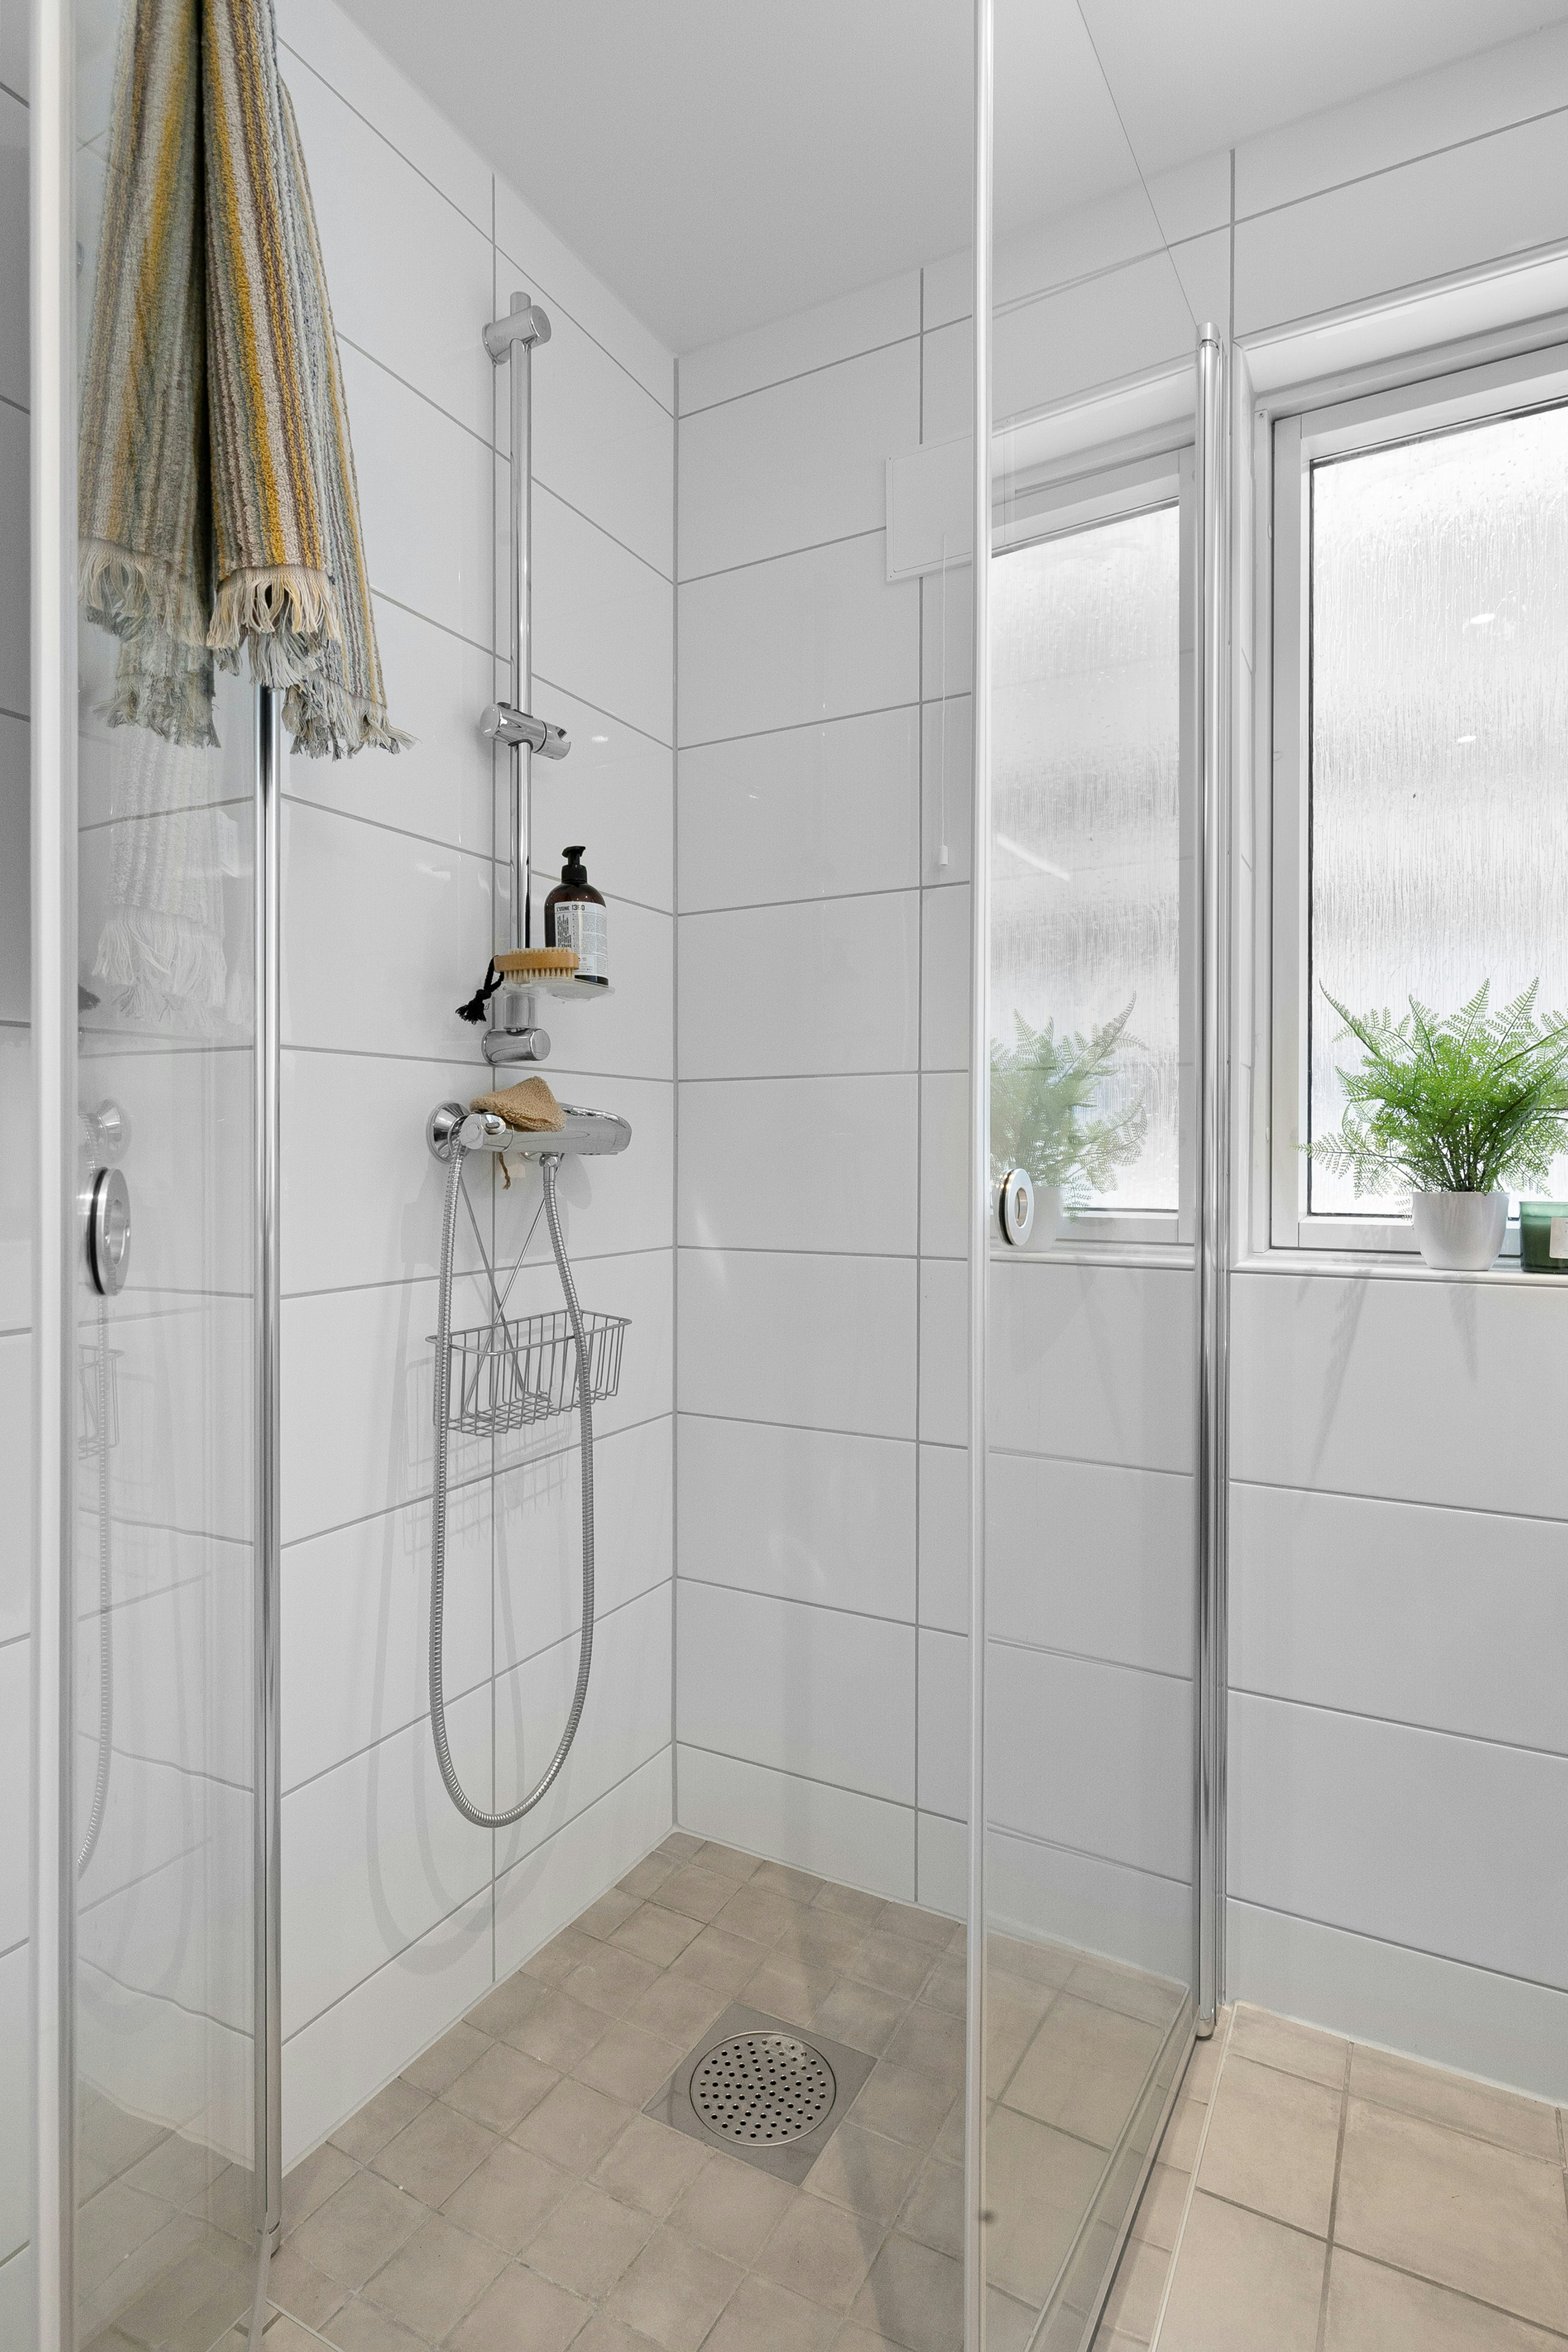
Centre floor waste
A round or square waste near the middle of the shower. The floor falls towards it from every side, so the tiles are usually cut in an envelope pattern around it. Smaller tiles suit this layout because they follow the falls more easily.
Linear drain along a wall
A long channel set against the back or side wall. The floor falls one way only, so large-format tiles can run across without envelope cuts and the shower floor can line up with the rest of the bathroom. A tile-insert grate makes the drain almost disappear.
BUILD THE STORAGE AND WATER IN
04 · Niches and a bench
A recessed niche keeps bottles off the floor and out of view through the glass. In a stud wall it is simple to frame before the wall is sheeted. On a plumbing wall or external wall it takes more planning. A tiled bench or ledge gives you somewhere to sit or rest a foot. Line both up with the tile joints so the cuts stay clean.
05 · A rail shower with an overhead rose
An overhead rose paired with a hand shower on a rail covers most needs: a wide soak, rinsing children or pets, and washing down the walls. A twin-outlet mixer or diverter runs both. Put the mixer where you can reach it from outside the spray, so the water warms up before you step in.
Updating an existing recess rather than starting from bare walls? Shower Renovations covers screens, tiling and fixtures within the current footprint.
MAKE THE ROOM READ AS ONE FLOOR
06 · Tile continuity and splash-zone planning
Running the same floor tile from the doorway into the shower is what makes a walk-in shower feel open. The skill is in working out where water will actually go: the splash zone in front of the opening, the floor by the vanity, the path to the towel rail. Those areas decide how far the waterproofing extends, which slip rating the tile needs and where a lighter grate belongs. Our tile ideas guide goes further into sizes and layouts.
07 · Step-free access
A level entry makes the shower easier for young children, older family members and anyone using a shower chair. You get it by recessing the shower floor or building up the floor around it, so the falls still work without a hob. The best method depends on what is under the floor, and that differs from house to house in Murrumbeena, Carnegie and Hughesdale.
BEFORE YOU BRIEF A WALK-IN SHOWER
Where does the shower head point, and how far does the spray reach?
A fixed glass panel, or a full wet room?
A centre waste, or a linear drain?
Which tile runs into the shower, and how large is it?
A niche, a bench, or both?
Does anyone in the household need a level entry?
TURN THE IDEAS INTO A SHOWER
Take your answers to Walk-In Showers to see how the work is planned, then browse Projects for layouts and finishes worth referencing. Once the room and your priorities are clear, request a quote, or send a question through the contact page.