
Home / The Work
THE WORK · RENOVATION STAGES · MELBOURNE
I’m Ivan Bodnar, an independent home renovation specialist working as a sole trader in Melbourne. Most of a renovation happens before anyone sees the result. This page goes through the stages I carry out on bathrooms, kitchens and laundries, in the order they usually happen, so you know what’s going on in your room each week.
0413 142 055 · 9:00–18:00, Mon–Sun
STAGES ON THIS SHEET
01 · Stripping back
02 · Substrate preparation
03 · Plasterboard and jointing
04 · Tiling and flooring
05 · Painting
Alongside: licensed plumbing and electrical work, done by licensed specialists
Reference photo: partly finished plasterboard and patched ceilings, mid-way between stripping back and the finish coats.
BEFORE THE NEW ROOM GOES IN
One of the most important lessons I’ve learnt is that good preparation matters just as much as the visible finish. Tiles, flooring and paint all sit on something. If that surface is uneven, damp or poorly fixed, the finish shows it sooner or later. That’s why the stages below spend more time on what’s underneath than on the final layer.
Every property is different, so the work needed depends on the condition of your room once it’s opened up. I explain what I find, what I’d recommend and why, before moving to the next stage. There’s more on this in Why Preparation Matters.
STAGE 01
Old tiles, worn finishes and damaged linings come out so the walls and floor can be seen properly. This is where hidden problems usually show up, and where the scope is confirmed against what’s actually there.
STAGE 02
The surfaces that will take tiles, flooring or paint are cleaned, repaired, levelled and primed. In a bathroom, this surface preparation gives the later stages a sound base. Any waterproofing or other regulated or specialist wet-area work is coordinated with appropriately qualified specialists as needed. It’s the least visible stage and often the one that takes the most care.
Related: Bathroom Renovations
STAGE 03

Joint compound applied along a wall-to-ceiling corner, with plasterboard seams visible.
New or replacement plasterboard is fixed, then joints are taped, set and sanded until the wall reads as one flat surface. Rushed jointing shows through paint, especially under side light from a window.
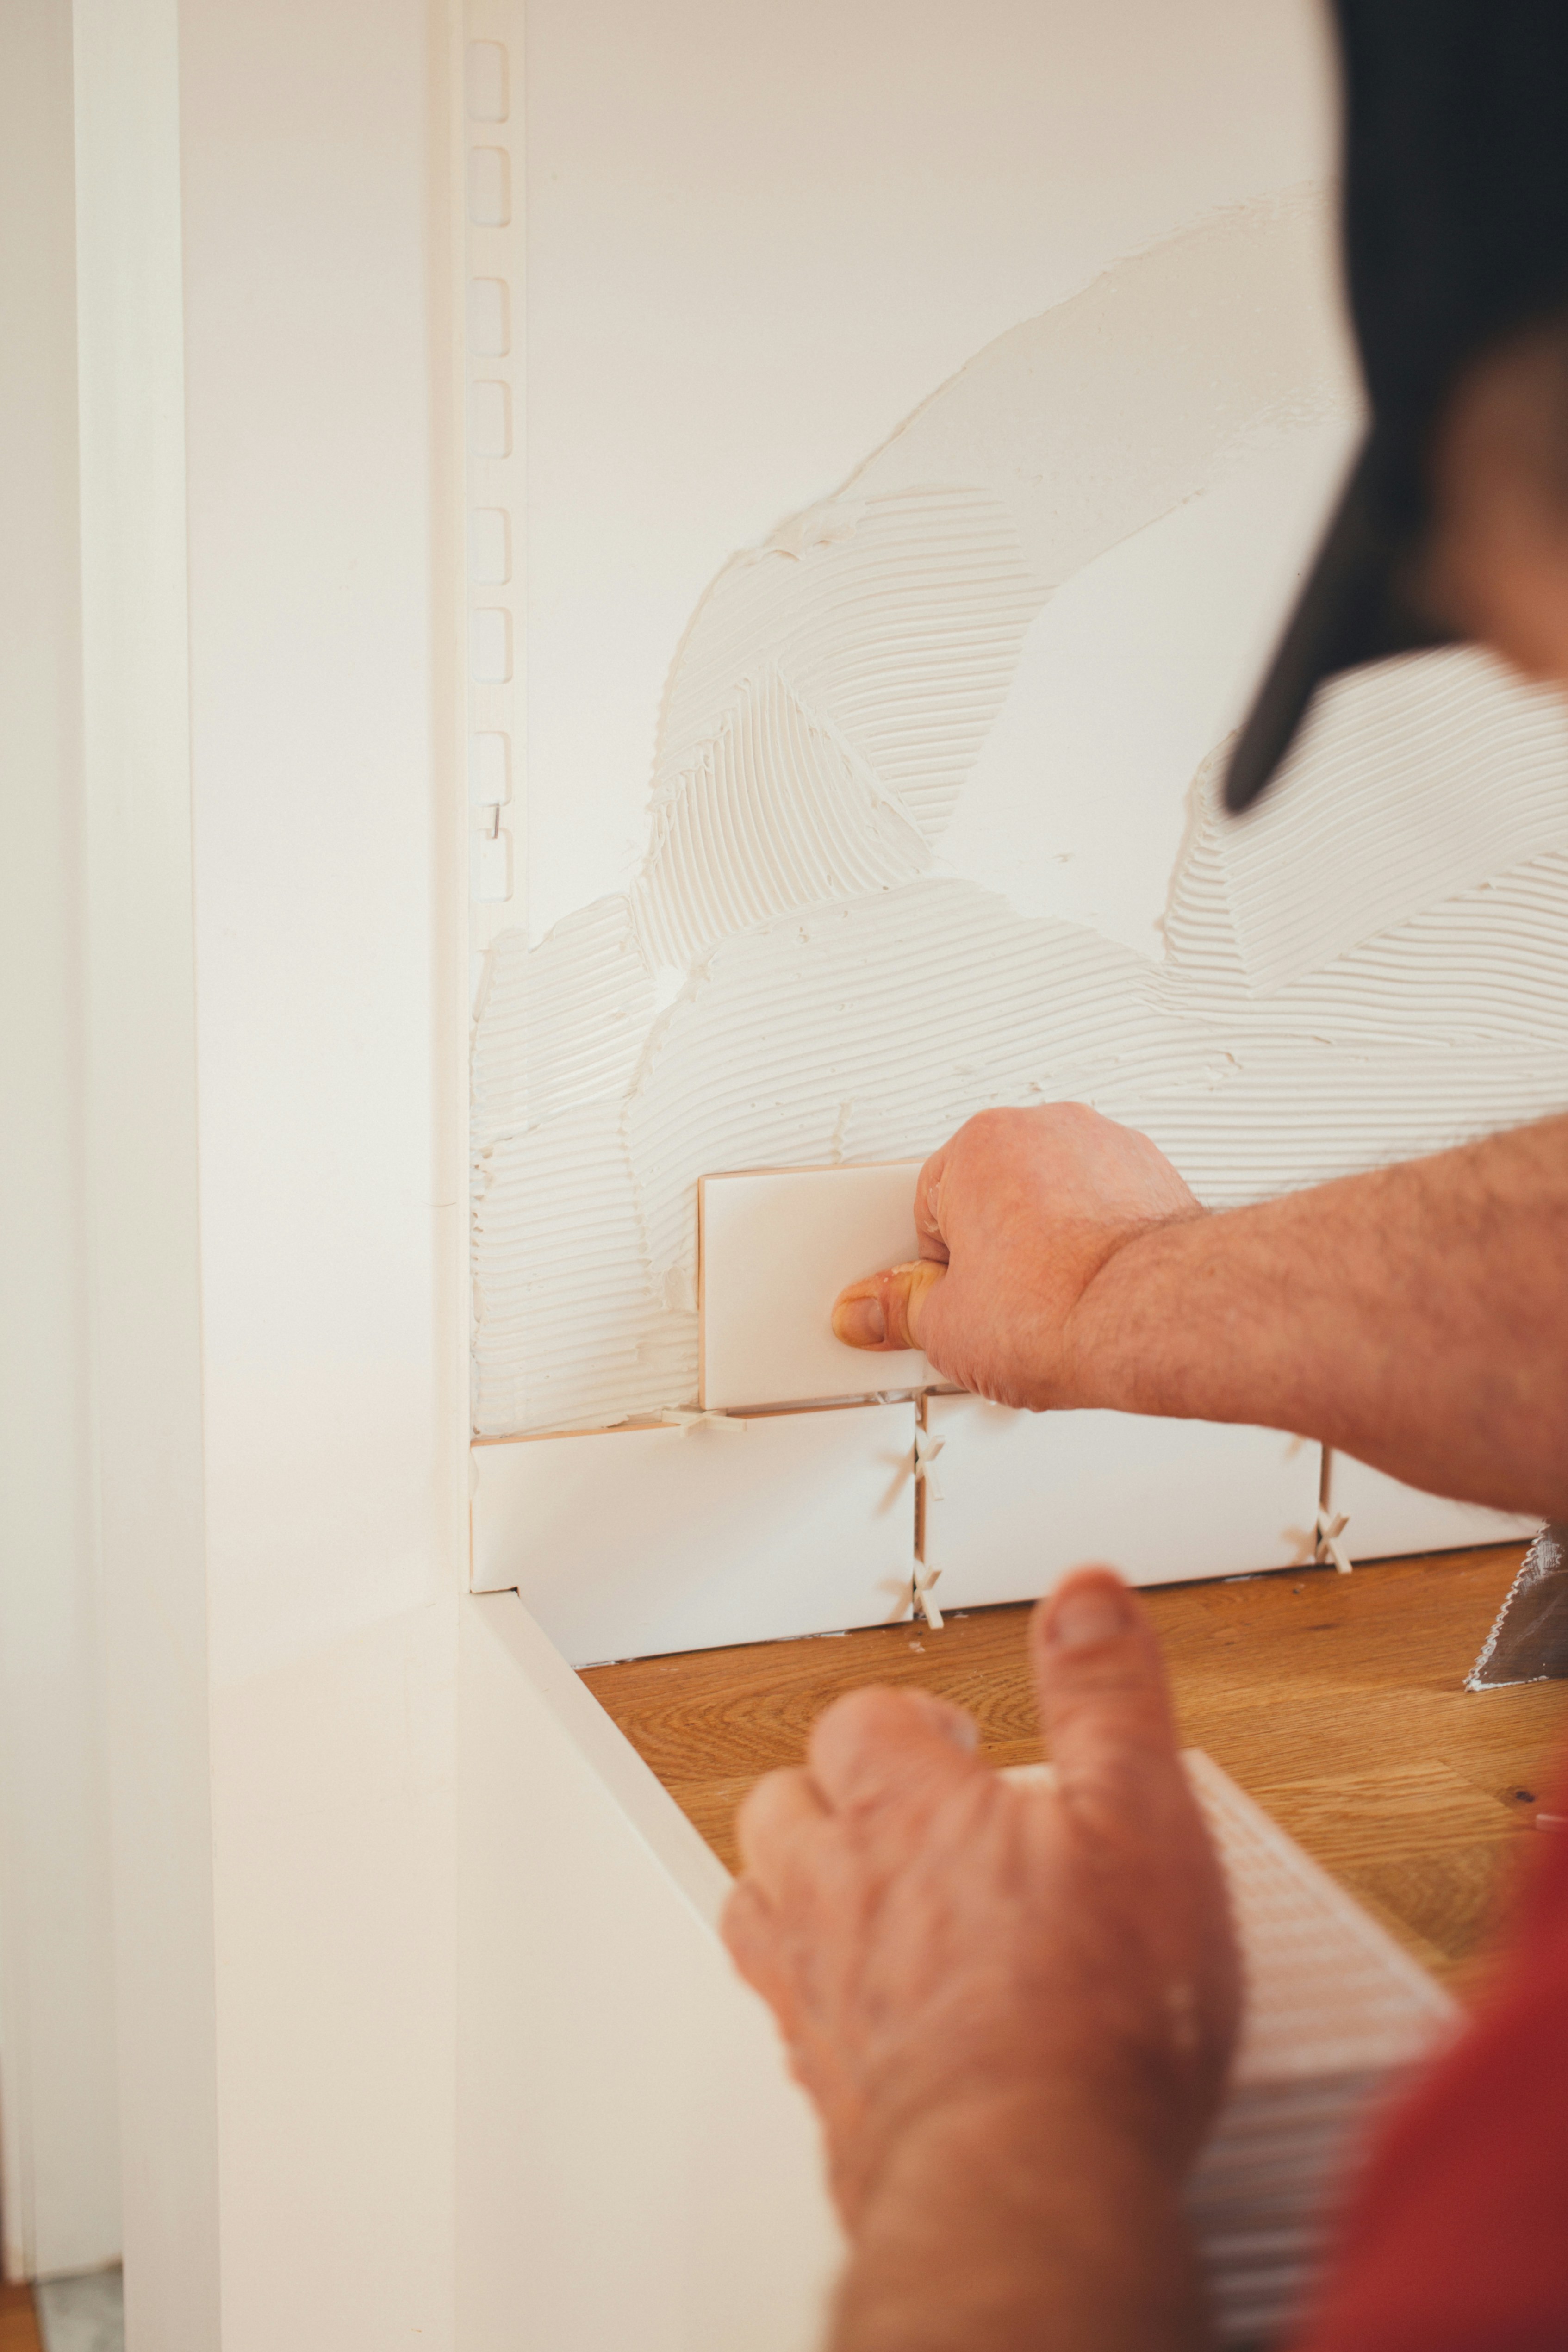
Reference photo: a white wall tile pressed into adhesive, row by row.
STAGE 04
With a sound, flat base, tiles go on in a planned layout. Cuts are placed where they’re least noticeable and lines are checked with a level as the work goes. Floors follow the same rule: the result depends on the surface underneath.
This is core hands-on work I do myself on bathroom, kitchen and laundry renovations.
Related: Tiling and Flooring · Kitchen Renovations
STAGE 05
Last comes paint, over walls and ceilings that have already been patched, sanded and primed. Good paint only looks good when the stages before it were done properly.
ALONGSIDE EVERY STAGE
Licensed work, by licensed specialists
Plumbing, electrical and other regulated work often has to happen between these stages, for example before walls are closed in or tiles go on. I don’t personally carry out that work. Where it’s needed, I coordinate with appropriately licensed specialists so it fits the sequence and you know who is responsible for each part.
Read Working with Licensed Specialists for how that coordination works.
YOUR ROOM
Some homeowners come to me with a room that only needs stage five. Others need everything from stripping back onwards. When you get in touch, a short description helps me understand where to start:
From there, I’ll talk you through the Assessment and Quotation Process. Any quotation depends on the assessed scope, materials and existing conditions. More tips are in What to Include When You Send a Message.