
FIELDS IN THIS GUIDE
Home / Renovation Guides / Why Preparation Matters
GUIDE · BY IVAN BODNAR · INDEPENDENT RENOVATION SPECIALIST, MELBOURNE
I’m Ivan Bodnar, an independent home renovation specialist working as a sole trader in Melbourne. After about 15 years of hands-on tiling, flooring, plastering and painting, one of the most important lessons I’ve learnt is that good preparation matters just as much as the visible finish. This guide explains what that preparation involves and why I don’t skip it.
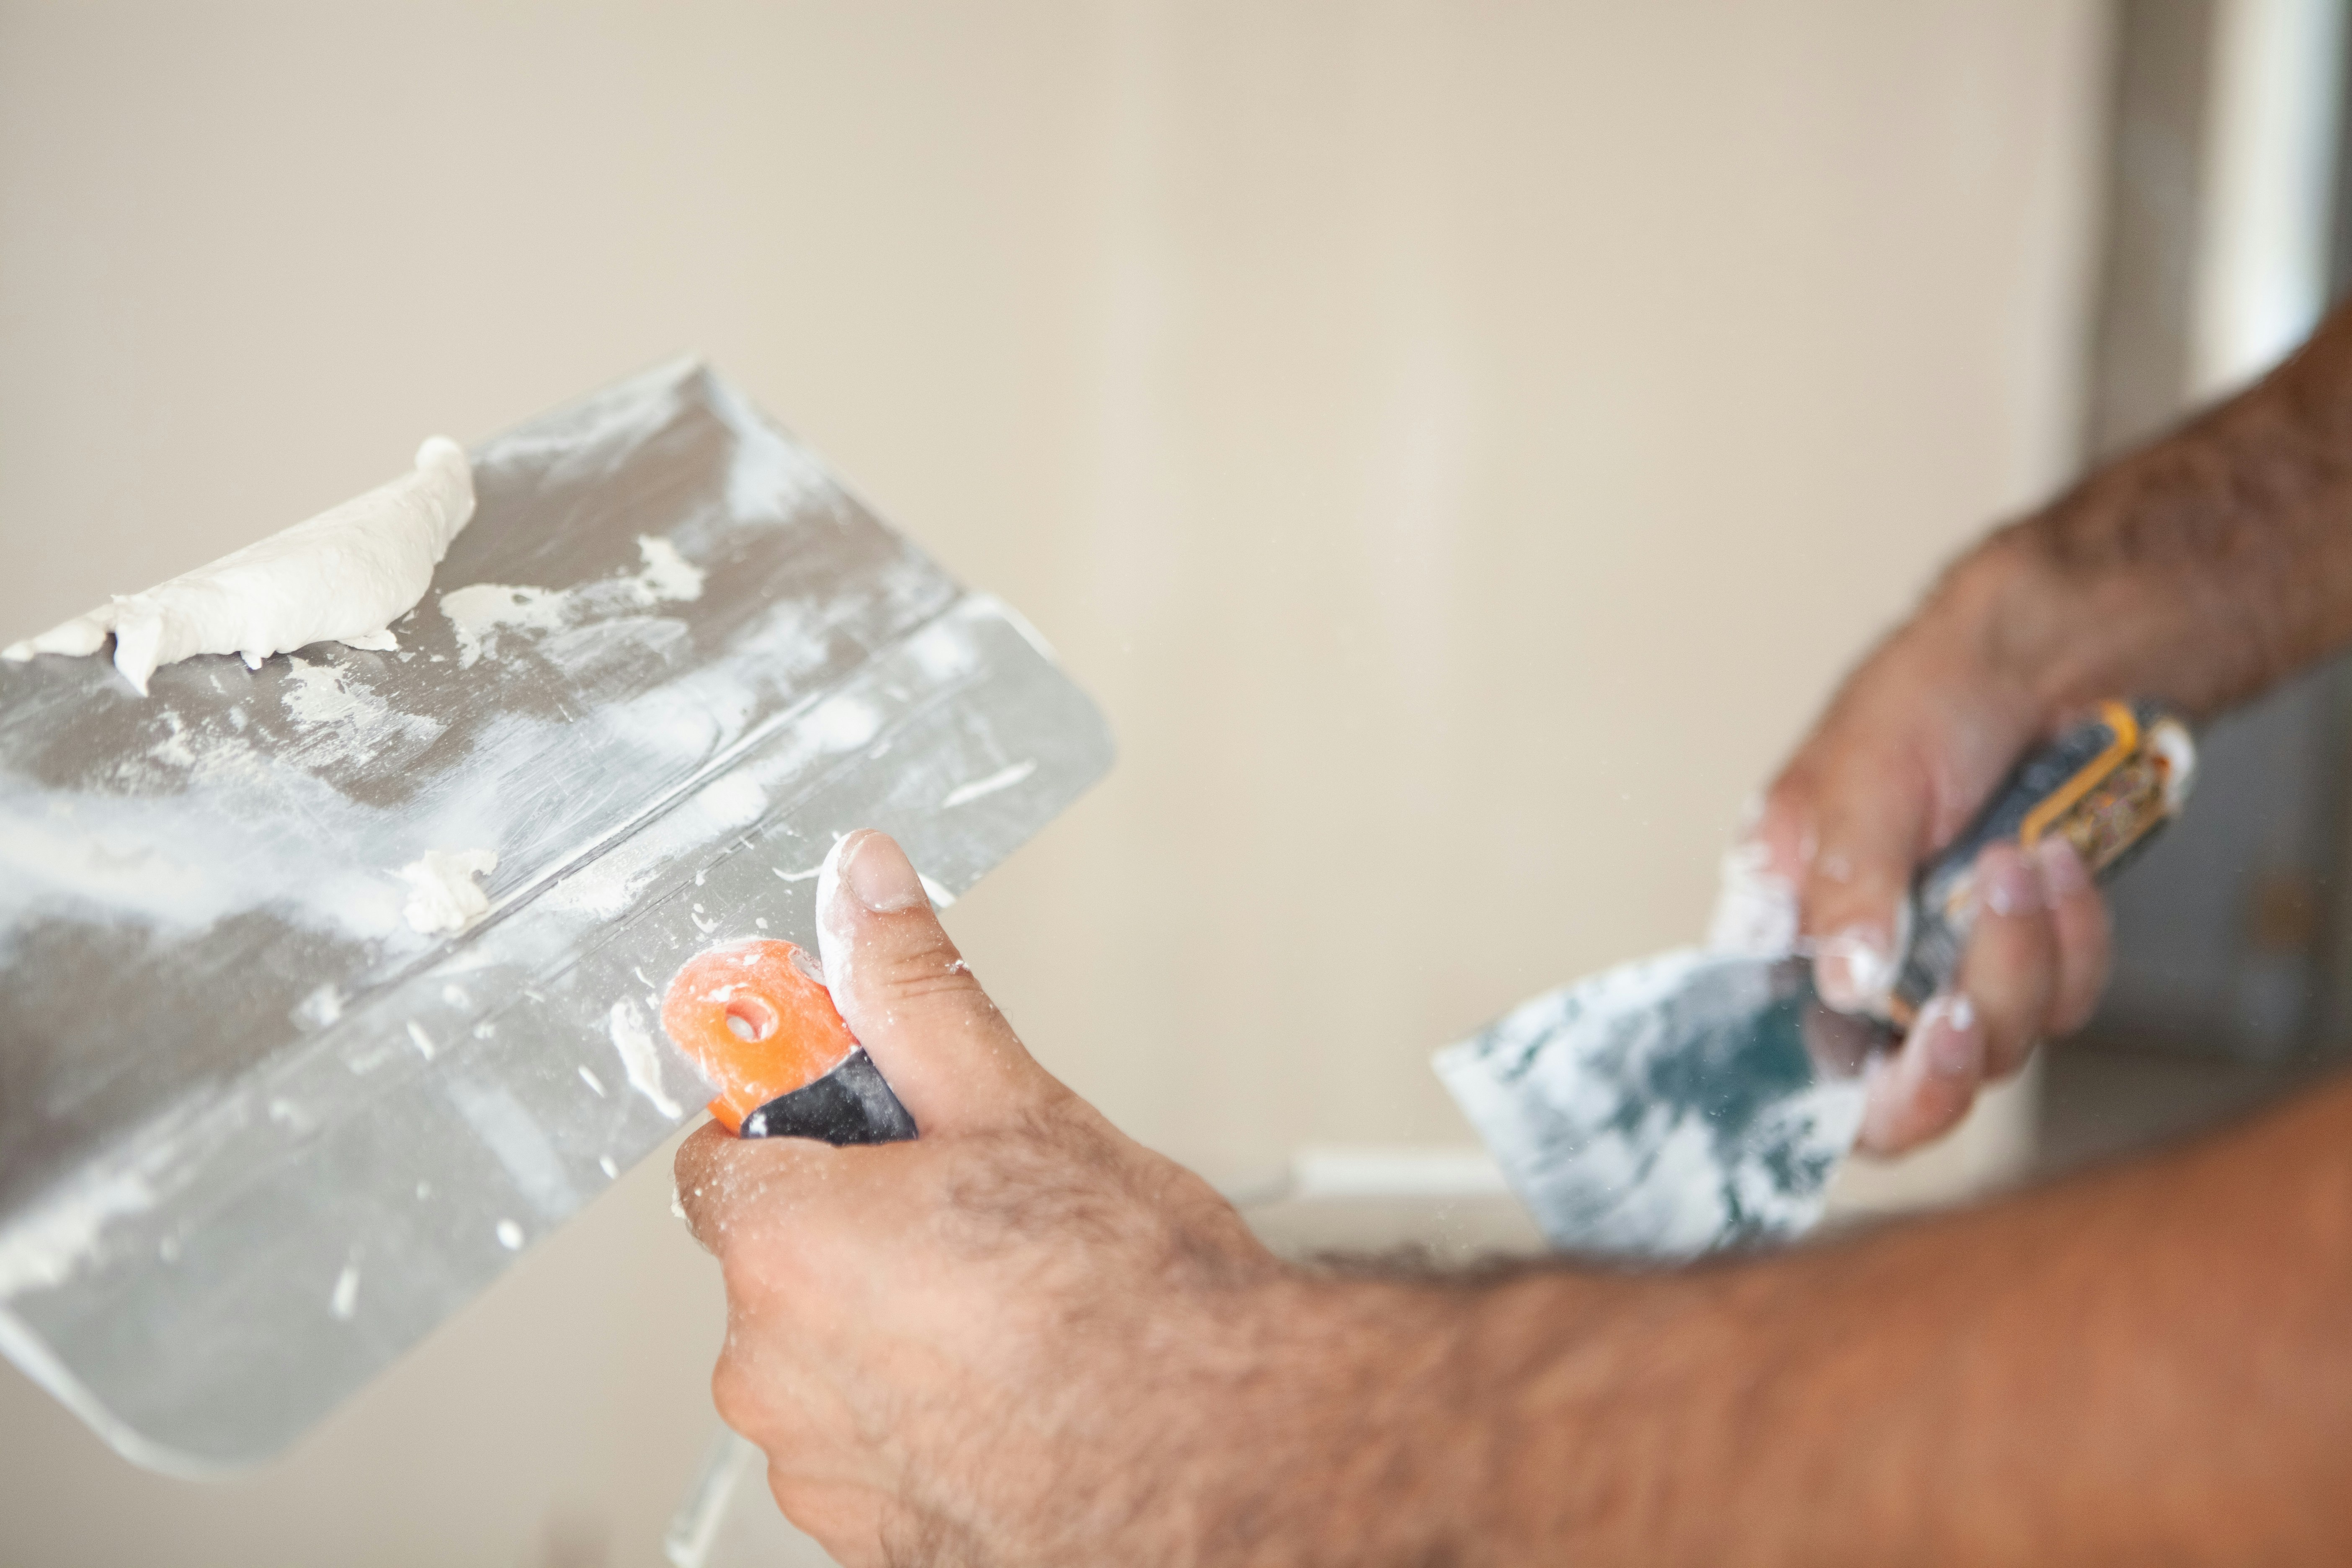
Wall compound applied with a putty knife and trowel. Each coat goes on, dries and gets sanded before any paint.
01
Tiles follow whatever is behind them. If a wall or floor is out of plane, dusty, damp or loose, adhesive won’t correct it. It shows up later as uneven tile edges, hollow-sounding tiles or cracked grout.
Before tiling, I check that the surface is sound, clean and flat enough for the tile size you’ve chosen. In a bathroom, the layers that sit under the tiles have to be in place and right before the visible work starts. Getting the setout right at this stage also matters. Where the cuts land and how the lines meet the floor and ceiling are decided before the first tile goes on. More on this is in Tiling and Flooring.
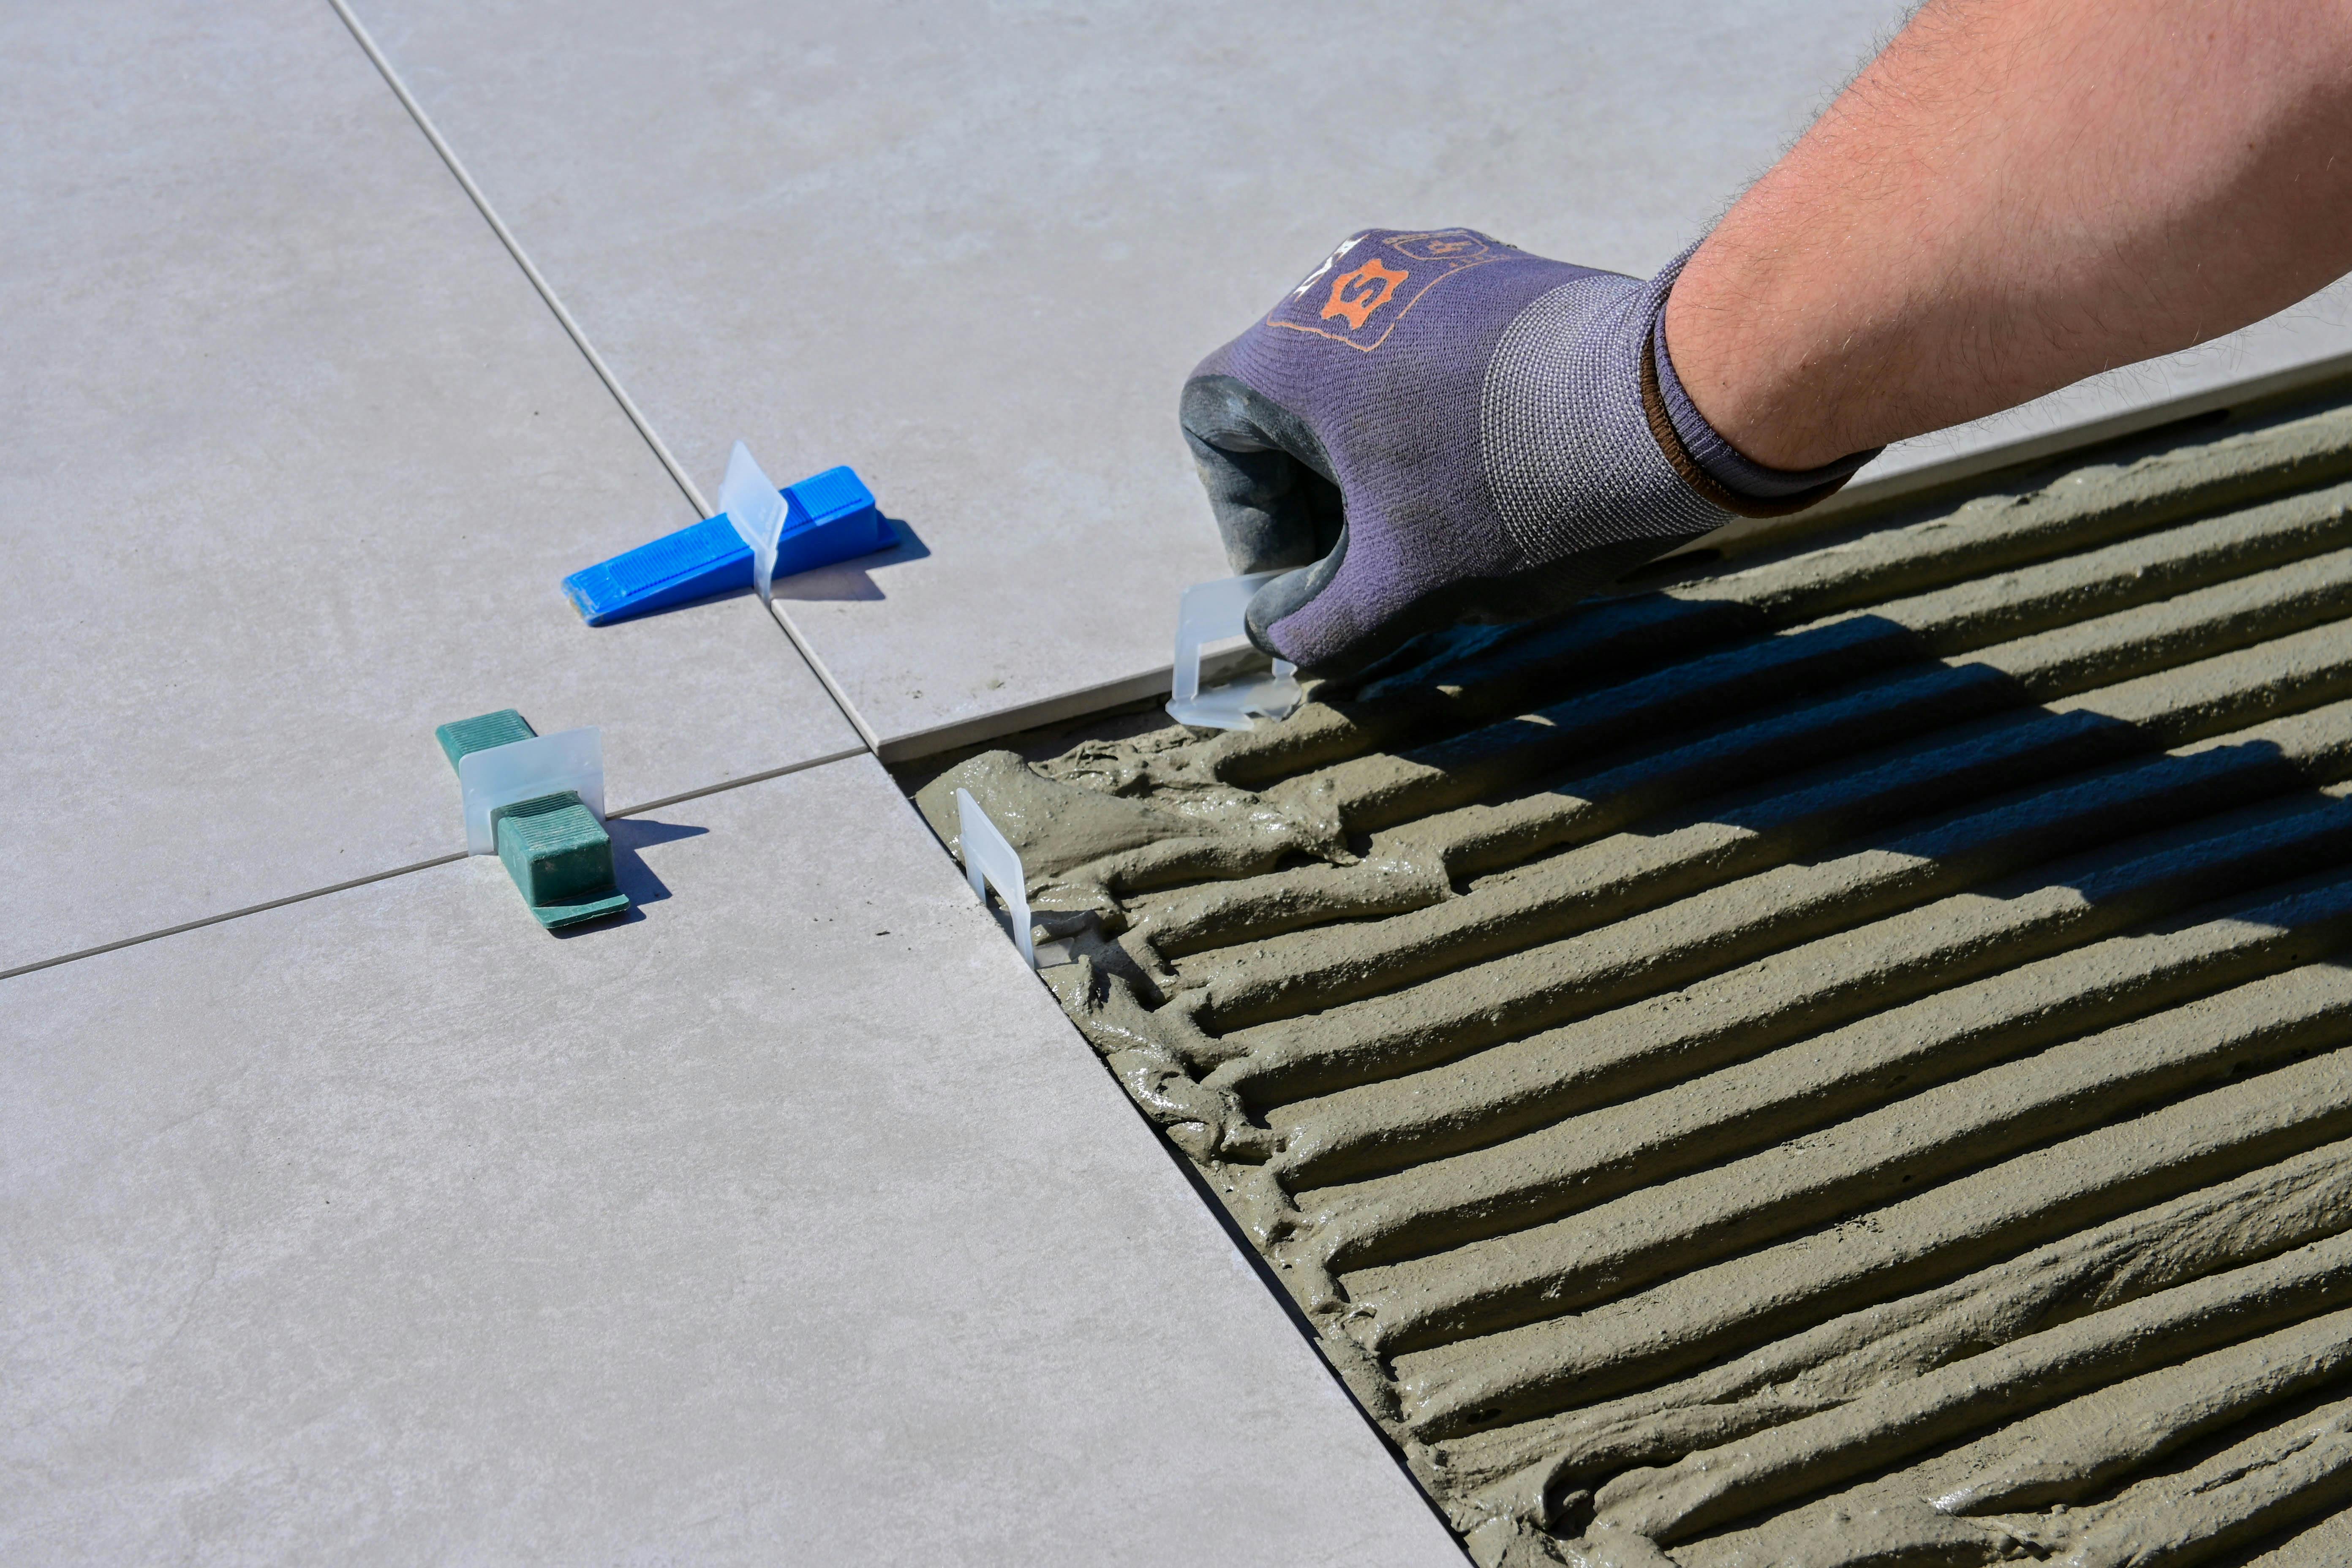
A large floor tile set into a fresh adhesive bed, with spacers. Larger tiles need a flatter surface underneath.
02
Paint doesn’t hide a poor joint. It often makes one more obvious, especially when light from a window falls across the wall. With plasterboard, the real work is fixing the sheets properly, then taping and setting the joints and building up coats of compound until they sit flat.
Each coat has to dry before the next one goes on. Then it gets sanded and checked under a light, and the surface is primed before any colour. Patches on older walls get the same treatment so they don’t show through the new paint. It’s slower than rolling straight over the top, but it’s the difference between a wall that looks right for years and one that shows every repair. See Plasterboard, Plastering and Painting for how I handle this work.
03
WHAT I LOOK AT BEFORE ANY FINISH GOES ON
Is it solid? Loose render, drummy tiles and soft plaster need to come off or be repaired first.
Is it flat? A straight edge across a wall or floor shows the high and low spots.
Is it level and plumb? A spirit level shows whether the lines need correcting before tiles or flooring go down.
Is it clean and dry? Dust, old adhesive, soap residue and moisture all affect how well the next layer bonds.
Does it suit the finish? Large-format tiles, gloss paint and some floor coverings need a flatter surface than other finishes.
04
I can’t judge how much preparation a room needs from a description alone. Once the old tiles come off a bathroom wall, the surface underneath might be sound with little fuss, or it might show water damage, uneven walls or old patches that need attention first. The work needed depends on the property’s condition, so I look at it before I give you a quotation. The steps are set out in the Assessment and Quotation Process.
Where a job includes plumbing, electrical or other regulated work, appropriately licensed specialists do that part. I coordinate with them so my preparation and finishing fit around their work. You can read more in Working with Licensed Specialists.
05
Bathroom Renovations in Murrumbeena and Melbourne — where this preparation matters most
Work in Progress — Renovation Stages Explained — the order the work usually follows
What to Include When You Send a Message — helping me understand the room before I visit
Renovation Guides by Ivan — more plain-English guides
If you have a room in mind, send me a message with your suburb and a short description of the work.